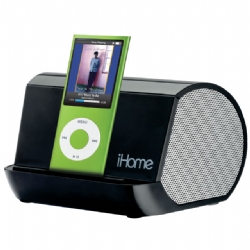
http://www.ihomecomputer.com/product_detail.asp?product_id=100049
![]()
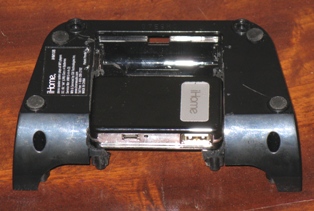
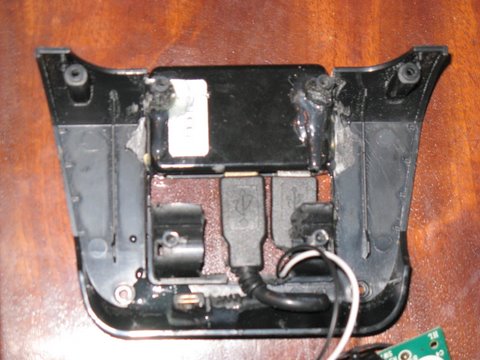
The USB hub fits perfectly in the width and depth of the battery holder on the iHM10.
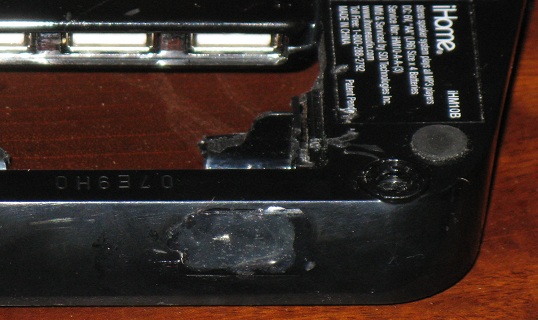
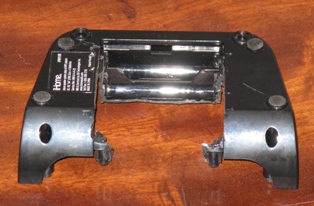
The iHM10 Comes apart easily.
2 screws in back and 2 under the front feet.
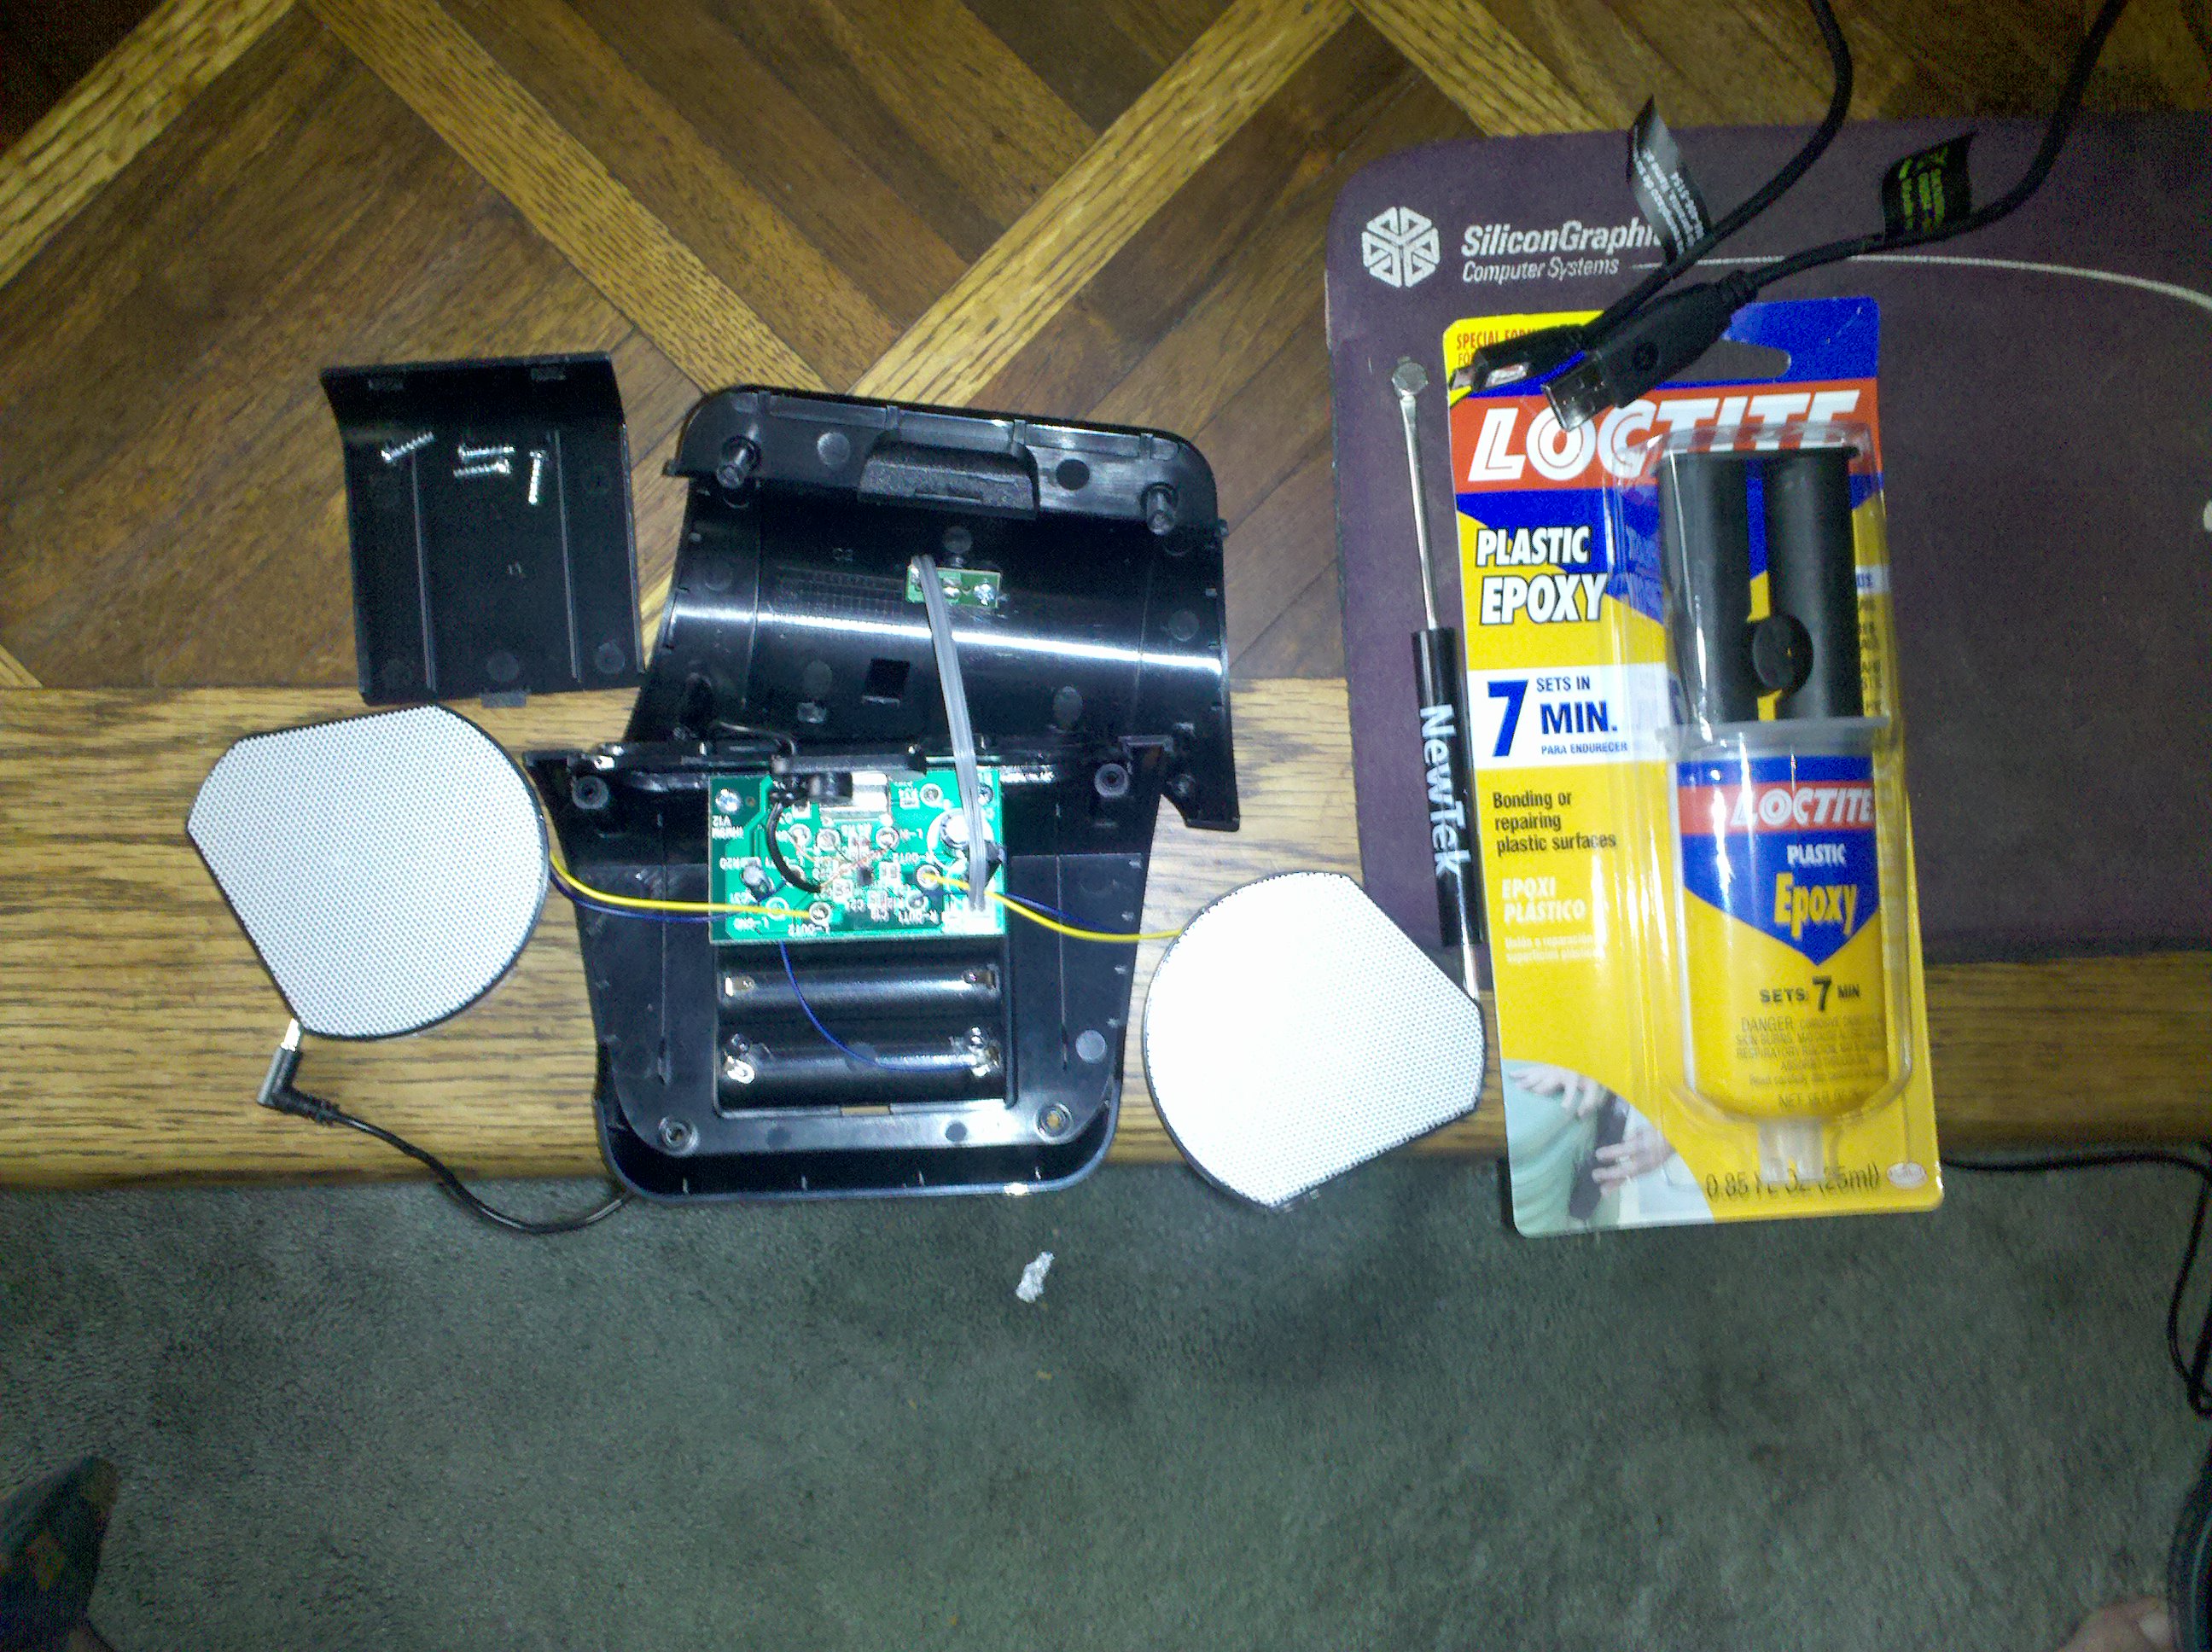
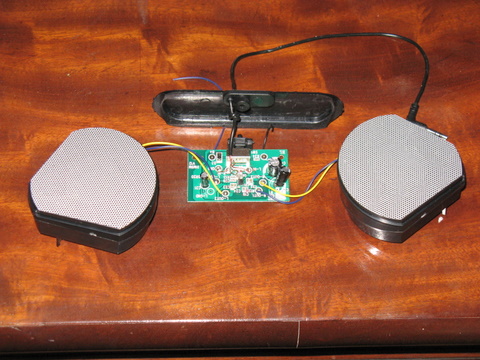
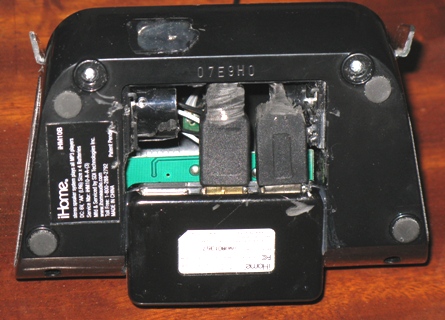
You need to take out the circuit board to get to the battery compartment.
I used a Dremmel to carve out enough of the battery pack to glue in the USB hub. be careful not to cut out the circuit board supports:
I positioned it so the input (mini-USB) and one regular USB were facing out the back. This gave me a USB port exposed to charge a Blue-tooth Headset.
Droid needs guides to line up the USB plug. There are probably more attractive choices for making little right angle guides, but I used a piece of track from a Hot-Wheels set.
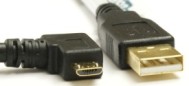
The same folks who had the right angle USB connectors also made a Power adapter.
http://www.angledcables.com/usb-power-cable--a-to-power-plug.html
It was easy to strip down to the two wires I needed to power the speakers.
The USB connectors had to be sanded down on the Hub side too fit as well. Here is the USB hub with the power and Driod, USB-A connectors, plugged in.
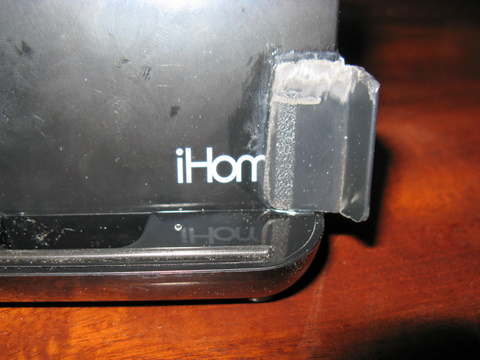
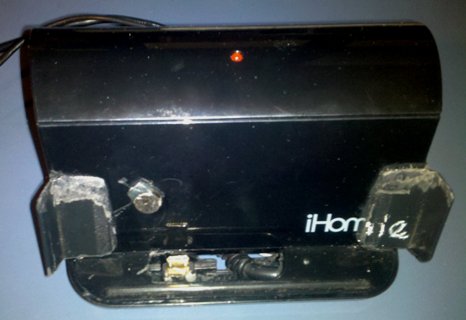
For the Media Dock trigger, I used a magnet from a magnetic dart game. any small strong magnet should do fine. Just move it around on the droid to find the correct polarity and position. The Hot Wheels track that I used for guides was thick enough that I had to let the magnet stick out a little.
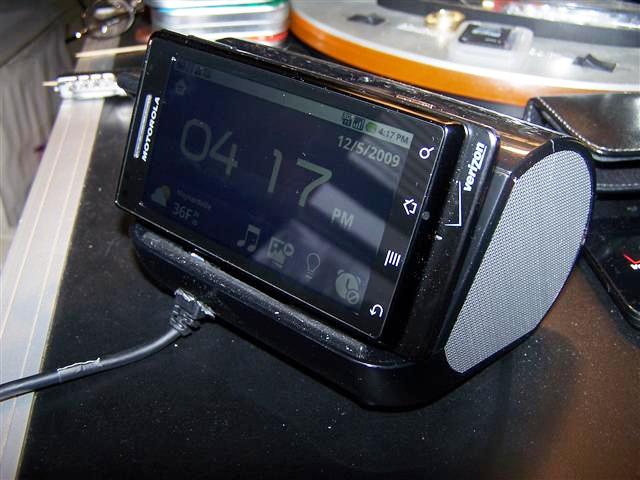
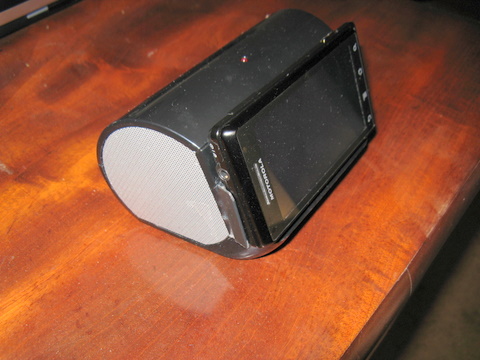
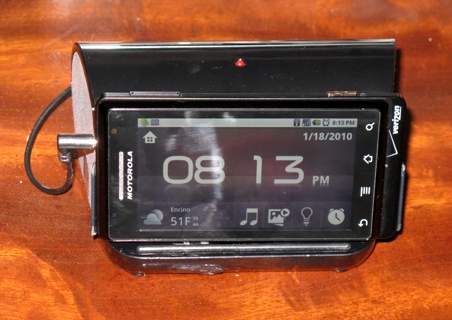
Done! The Nice part is, all the cutting and gluing is hidden when the Droid is in the dock.
By Day...
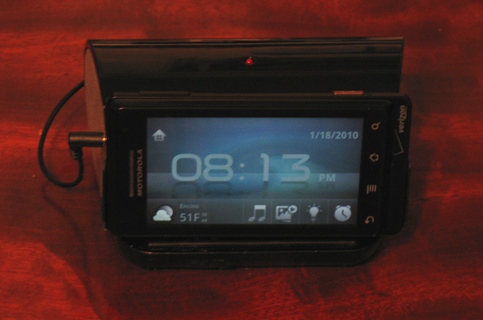
and by Night
An observation: If you try this, be sure to keep the on/off switch in the circuit. It turns out that the USB Hub will not connect to the computer (and thus not pass power) if the speakers are on when it is connected. For best reliability, turn off the dock, Plug it into the computer, dock the droid, then turn on the dock.
A BIG THANKS to "metalmenance" of Knoxville TN, for the inspiration and Steve for loaning me the Dremmel and great advice.